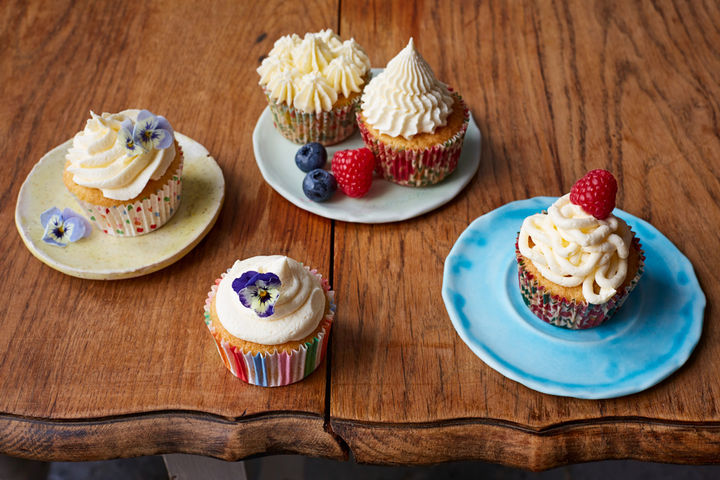
Transform plain sponges into gorgeous little cupcakes, with our simple piping bag tips.
Piping is one of those baking jobs that might seem a little daunting, but it’s far easier than it looks and is a really fun way to give your bakes a little extra personality. Jamie’s range of nozzles is designed to give big and bold shapes – which makes the job much less fiddly, too. Practise your technique by piping straight onto a piece of greaseproof paper – that way, you can scrape up your first attempt and reuse in the bag again.Get started with our recipe for perfect vanilla cupcakes.
CHOOSE YOUR ICING
You can either pipe thick and pillowy buttercream, or hard and sugary royal icing. We prefer buttercream for cupcakes as it’s softer and easier to eat, plus you get loads of height. Royal icing works really well for edging larger cakes, or making more intricate patterns.
COOL YOUR CAKES
The most important part of piping prep is to make sure your cakes are completely cool before you start, otherwise your beautiful icing will just melt into a sloppy puddle!
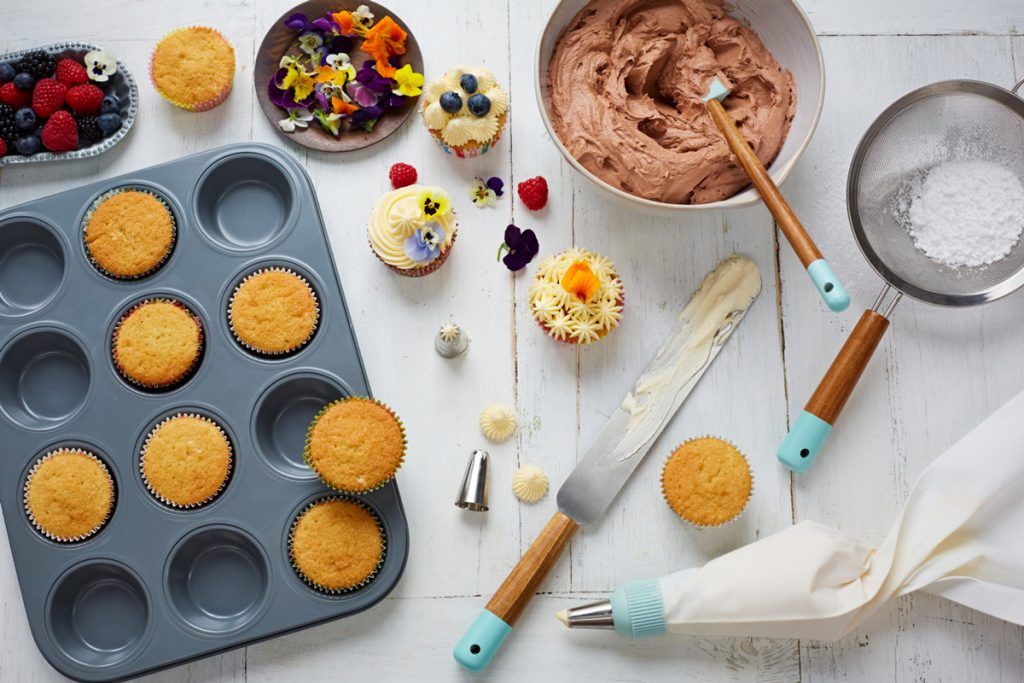
BAGS & NOZZLES
You can either use a nylon bag that you wash out and reuse, or a disposable plastic one. Reusable bags need a screw-in ‘coupler’ to attach the nozzle. If you use a disposable bag, simply snip off the end to make the right sized hole for your chosen nozzle each time. Make sure the nozzle fits really snugly.
FILLING YOUR BAG
Roll over the top edges of your bag so you can reach right into the bottom really easily. Then simply bung in your icing, making sure it goes all the way down, and turn up the edges of the bag. Give it a little shake to get rid of bubbles then twist the bag from the top down, squeezing the icing into a smooth and solid lump, ready to pipe.
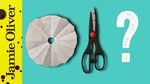
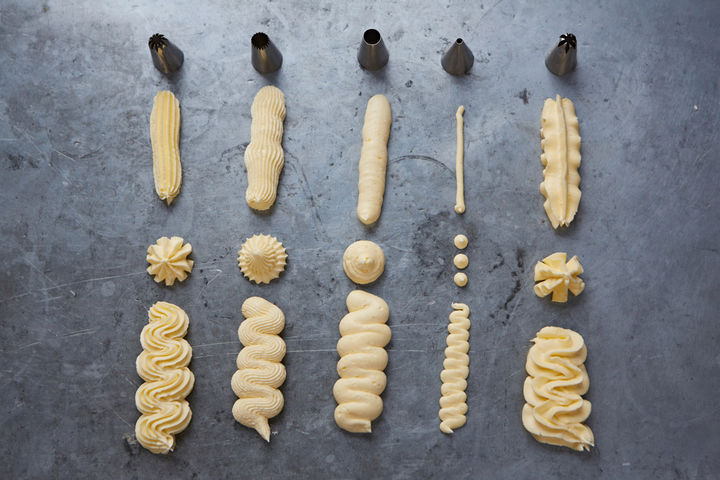
WHICH PIPING NOZZLE TO CHOOSE
Different nozzles behave in different ways. Firstly, you have the choice between smooth and starred tubes. When it comes to starred nozzles, they are either open or closed. Open nozzles give a slightly looser and softer shape, while closed ones give a much more defined edge to the star shape. You can then choose how many points it has, which will change how fine or dense your star texture is.
1. For a classic rose

Choose either an open or closed star nozzle with about six points. Hold your bag vertically over the middle of the cake so it’s almost touching the sponge. Give it a good squirt, then move outwards in expanding circles, lifting the bag slightly as you move up in a spiral motion.
2. For little stars
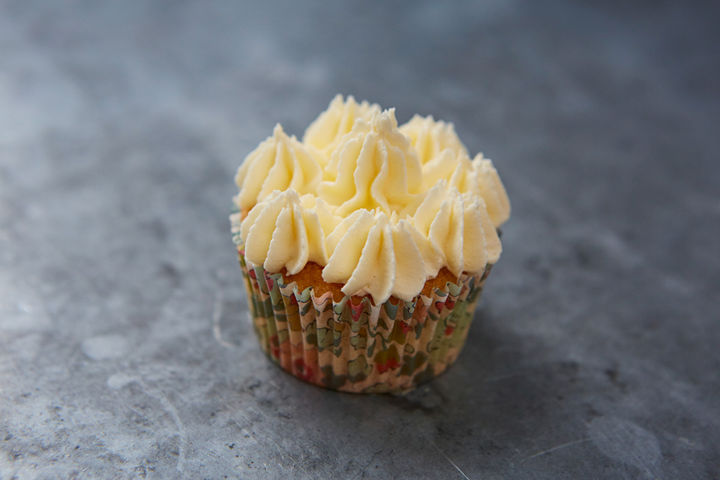
Choose a closed star nozzle with eight or 10 points. Start in the middle and pipe short, sharp bursts, moving out until you’ve filled the cake’s edge with stars. You can also layer the icing by adding a couple of extra blobs around the inner circle.
3. For a super-smooth blob
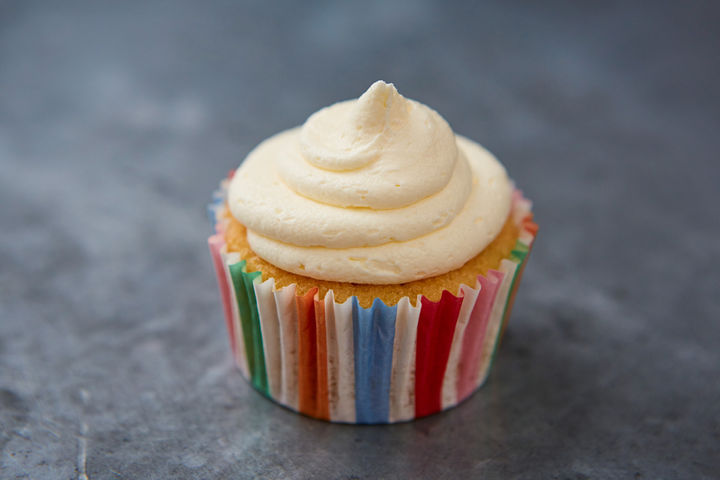
Choose a large round nozzle. Give the bag a really generous squirt over the middle of your cake, then start circling but keep the nozzle in contact with your buttercream. Move slowly up and into the middle, before gently pulling away for a little quiff.
4. For a worm
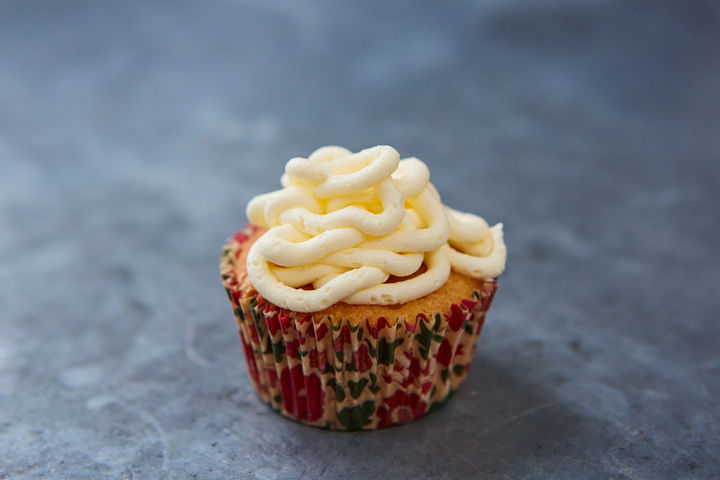
Choose a small, round nozzle. Go freestyle with this tangle of little tubed icing! Mound the buttercream on top of itself to create a lovely bundle of smooth and thin icing with loads of volume.
5. For a meringue tower
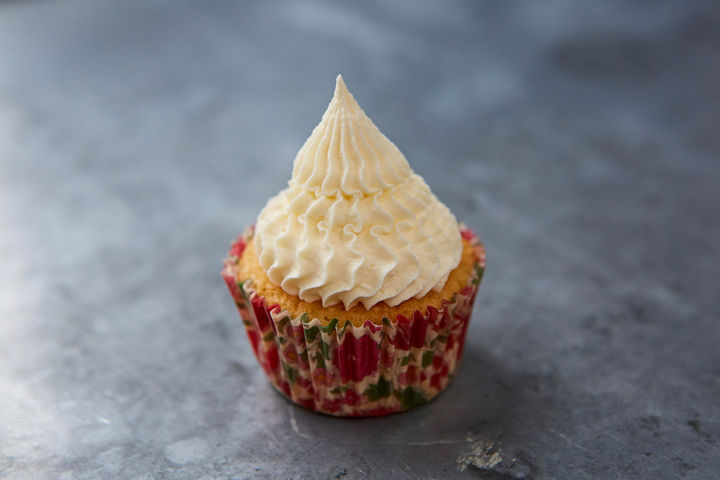
Choose an open star nozzle with lots of points. Start in the middle and squeeze, without lifting the nozzle, until the buttercream has been pushed out to the edge of your cake. Once your blob is as wide as you’d like it, slowly lift while still squeezing for an elegant, ruffled tower.
Find more icing inspiration here, and watch our video on perfectly piped cupcakes to see the technique in action!