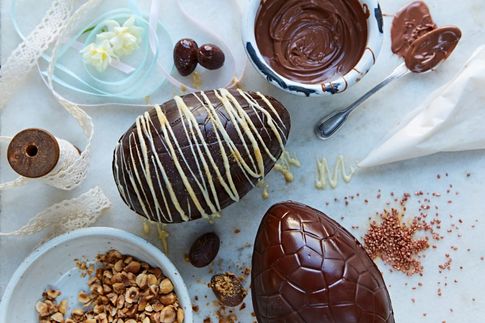
Petal's birthday cake
Gluten-free, reliable & delicious
Petal's birthday cake
Gluten-free, reliable & delicious
Nutrition per serving
-
Calories 370 19%
-
Fat 24g 34%
-
Saturates 14.3g 72%
-
Sugars 28.6g 32%
-
Salt 0.1g 2%
-
Protein 3.8g 8%
-
Carbs 36.7g 14%
-
Fibre 0.1g -
Of an adult's reference intake
Ingredients
- 200 g unsalted butter , plus extra for greasing
- 200 g golden caster sugar
- 200 g dark chocolate (70% cocoa solids)
- 200 g gluten-free self-raising flour , plus extra for dusting
- 6 large eggs
- 2 teaspoons vanilla bean paste
- 1 orange
- fresh fruit, to decorate , optional
- Buttercream
- 200 g dark chocolate (70% cocoa solids)
- 200 g icing sugar
- 200 g soft unsalted butter
The cost per serving below is generated by Whisk.com and is based on costs in individual supermarkets. For more information about how we calculate costs per serving read our FAQS
Method
- Preheat the oven to 160ºC/325ºF/gas 3.
- Cube up the butter and place in a heatproof bowl with the sugar. Snap up the chocolate and add to the bowl.
- Sit the bowl over a pan of gently simmering water, making sure the water doesn’t touch the base of the bowl. Leave for a few minutes, until melted and combined, stirring occasionally.
- Meanwhile, grease a 28cm loose-bottomed cake tin (you could also use a cheesecake tin, a 20cm square baking tin, or even a 28cm ovenproof frying pan) with butter and line with greaseproof paper. If you don’t have any paper, add a tablespoon of plain flour to the tin and shake it around until you’ve got a nice even layer, then turn the tin upside-down and tap to remove any excess.
- Pour the melted chocolate mixture into a large mixing bowl and leave it to cool for 5 minutes.
- One at a time, whisk in the eggs. Add the vanilla bean paste and a little grating of orange zest, then sift in the flour.
- Gently fold the flour into the mix, and as soon as it’s just combined, you’re done. Pour the mixture into your prepared tin and bake for 40 to 50 minutes, or until the cake is springy to the touch, and a skewer inserted in the middle comes out clean.
- Leave the cake to cool in the tin for 10 minutes, then transfer to a wire rack to cool completely. Sometimes it sags in the middle as it cools, but don’t worry – either trim the top, or do what I do and fill it with fruit and extra buttercream!
- To make the buttercream, snap the chocolate into a heatproof bowl and sit it over a pan of gently simmering water, making sure the water doesn’t touch the base of the bowl. Leave for a few minutes, until melted, stirring occasionally.
- Sift the icing sugar into a mixing bowl. Add the melted chocolate, then scrunch in the soft butter and add a small pinch of sea salt. Use a spatula to mix and beat it all together (or to save yourself some effort, use a free-standing mixer).
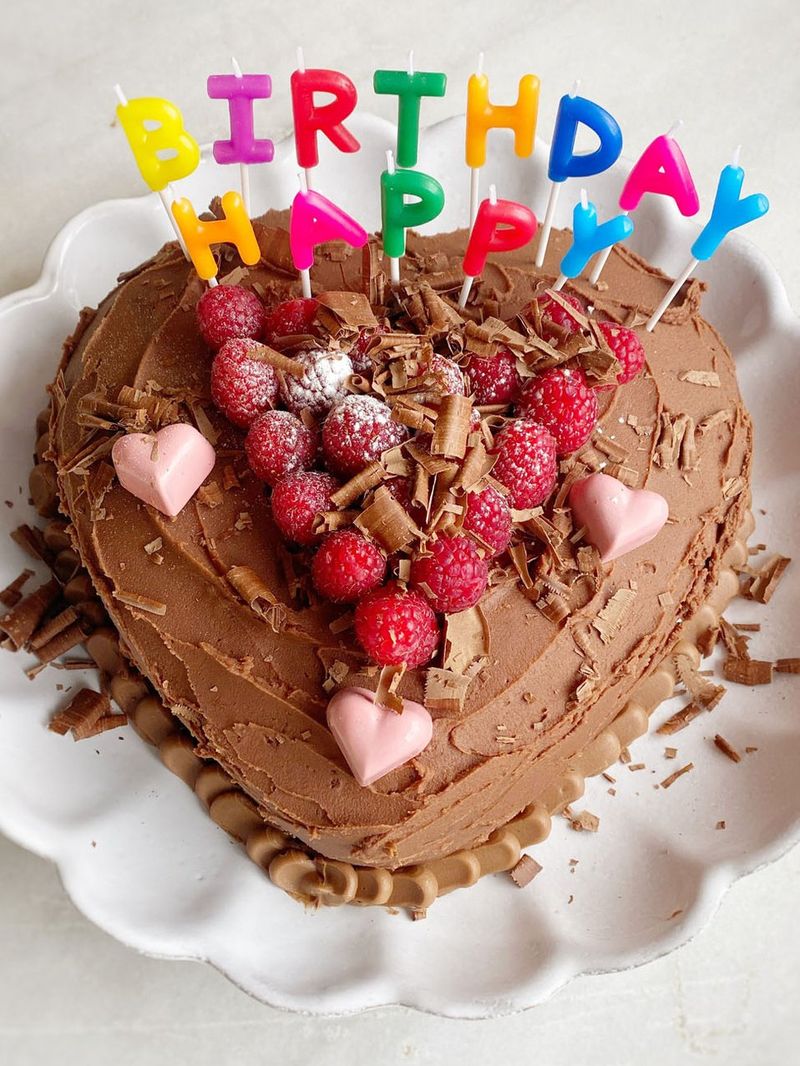
- Place the cake on a cake stand or platter, then spread the buttercream all over, using a knife to spread it out. (Or you could, of course, go super-professional and use a piping bag).
- Now you can decorate the cake however you wish – we like fresh raspberries, extra chocolate shavings and lots of candles! Big smiles all round.
Tips
Use a sandwich bag in place of a piping bag if you want to get fancy with your decorations. Simply snip the corner off and you’re away.
EASY SWAPS
- When it comes to sugar, use what you’ve got – as long as you’re adding 200g, you’ll be fine. I actually made this for Petal using 130g golden caster and 70g icing sugar, because that’s what we had.
- We love chocolate! 70% cocoa is always a good bet, but honestly, use whatever you can get your hands on.
- I’ve gone for orange and vanilla to flavour the sponge here, but you could use rosewater, cardamom, orange blossom water – have fun with it.
- If you don’t need to use gluten-free flour, by all means use regular self-raising.
