Easter weekend often leaves us with a mountain of leftover chocolate to get through. Thankfully, there is a wonderful way of transforming it into something really special that can be shared with your loved ones, rather than being forgotten or eaten plain all yourself.
You don’t need a recipe, or even to measure any ingredients, to make gorgeous chocolate bark – it’s about getting creative and using your favourite flavours and textures. The only thing to remember is that roughly 600g of chocolate will cover a large baking sheet.
The chocolate
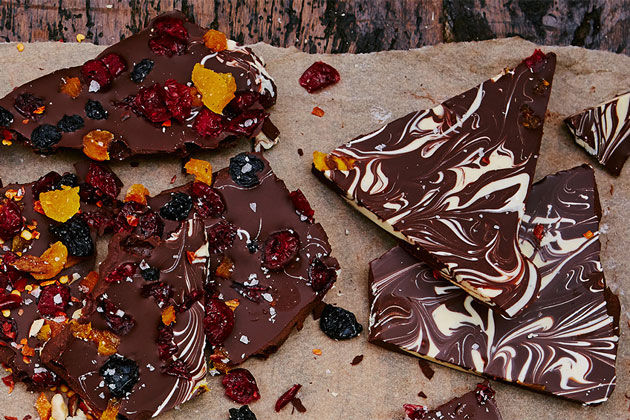
Use whatever you have, be it dark, milk, or white. Marbling dark chocolate with white creates beautiful patterns, and will turn your bark into an immensely impressive gift. To do this, melt white chocolate separately and pour a small amount over your milk or dark chocolate, before gently swirling the two together using a cocktail stick or thin skewer.
Toppings
Chilli, sea salt, and dark chocolate are best pals. Scatter over a pinch of dried chilli flakes for a warm kick, and a sparse sprinkle of flaked sea salt for a nip of salty sweetness that will brilliantly enhance the natural flavour of the chocolate.
Nuts and seeds are great additions for added crunch. Sunflower, pumpkin and sesame seeds are all delicious, and any nuts will also work a treat, either roughly chopped or sprinkled over whole. My favourites are pistachios, partly because they add a splash of colour.
The same is true for dried fruits, which add texture and sweetness. Try sprinkling over raisins, currants, cherries, chopped dates, figs, apricots, or finely sliced mango.
Making your bark
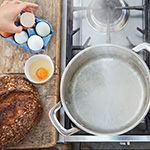
When you melt chocolate too aggressively, it can cause it to act in different ways – therefore, doing it gently is important to ensure it retains its beautiful chocolaty texture. It’s super simple though – all you need is a bain-marie, which is nothing more than a saucepan, a bowl, and a little bit of patience.
Place a heatproof bowl snugly over a saucepan with a little water in the bottom (but not enough so that it touches the bottom of the bowl). There should be no gaps between the bowl and the rim of the pan. Place on the stove, bring the water to a gentle simmer, then lower the heat and start breaking your chocolate into the bowl. Stir with a spoon or spatula until smooth and completely melted.
Start by lining a baking sheet or thin tray with greaseproof paper or cling film. Pour the melted chocolate onto your lined tray and spread evenly using a spatula. You can make it as thin as you like.
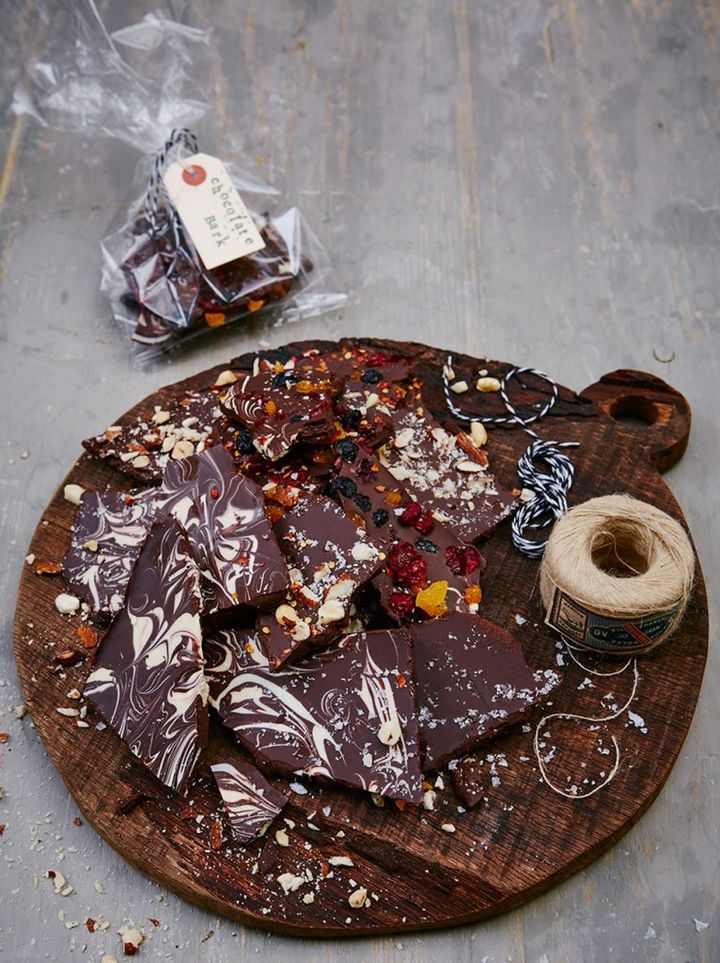
While the chocolate is still soft, add your toppings. Be sure to get really creative – you can add different toppings to different portions of your tray, which means when it’s broken up you’ll have a nice mix of pieces.
Once you’ve created your masterpiece, transfer to the fridge for a couple of hours to cool. When completely set, break up in to rough shards. Wrap in cellophane bags tied with ribbon and handwritten labels for perfect homemade gifts, or store in an airtight container for a quick sweet treat.
Be sure to have a look through our chocolate recipes for inspiration.
By Abby Michalski