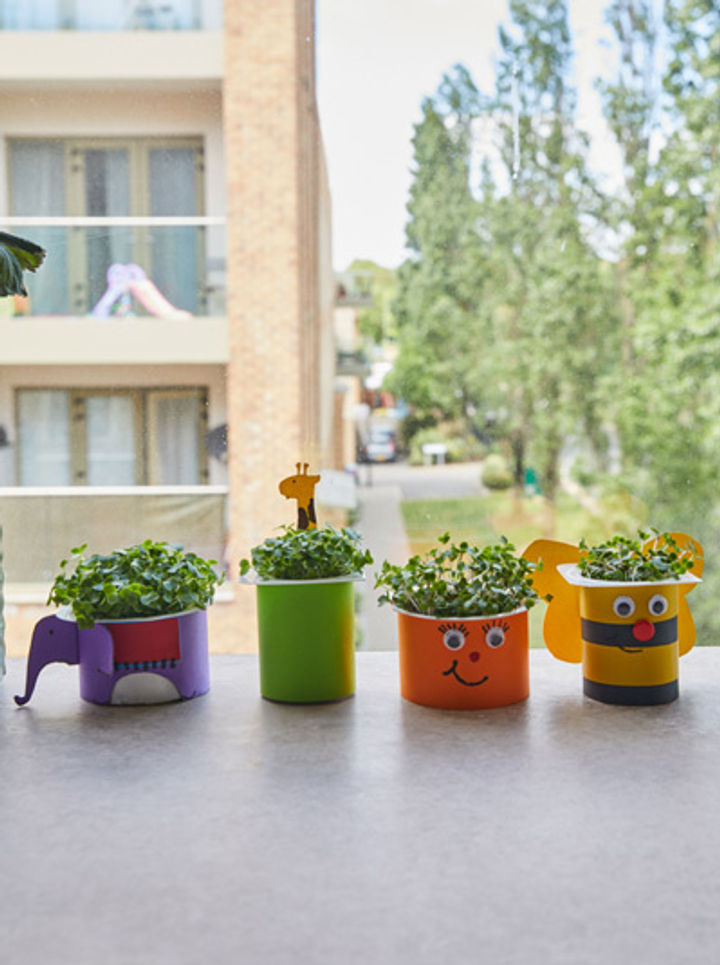
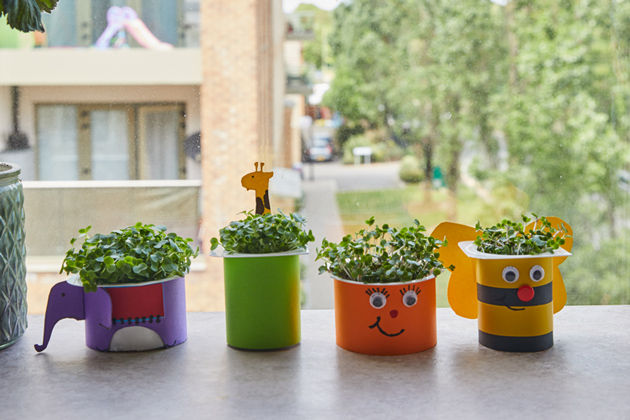
Sowing cress is a great way of introducing kids to the joy of growing your own food at home. The good news is that you don’t even need a garden – a reused yoghurt pot and a sunny windowsill will do the trick – and you’ll see results in a matter of days.
Learn how to grow your own yoghurt pot cress head with our easy step-by-step guide and handy video, so you can enjoy delicious veg in just seven days. When you’re ready to harvest, simply snip into an egg mayonnaise sandwich, toss into a leafy salad, or scatter over a homemade soup – cress is super versatile and delicious.
It’s really easy, so give it a go!
You’ll need:
1 washed-out yoghurt pot
decorating supplies, such as felt-tip pens, acrylic paint and card
double-sided tape or glue
cotton wool balls
cress seeds
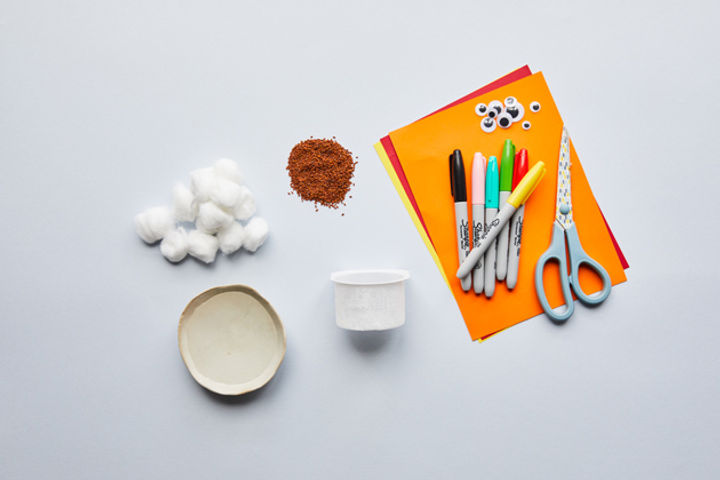
- Remove the label from the yoghurt pot. Cut out a piece of card that is just big enough to wrap around the pot, then use double-sided tape or glue to stick it down.

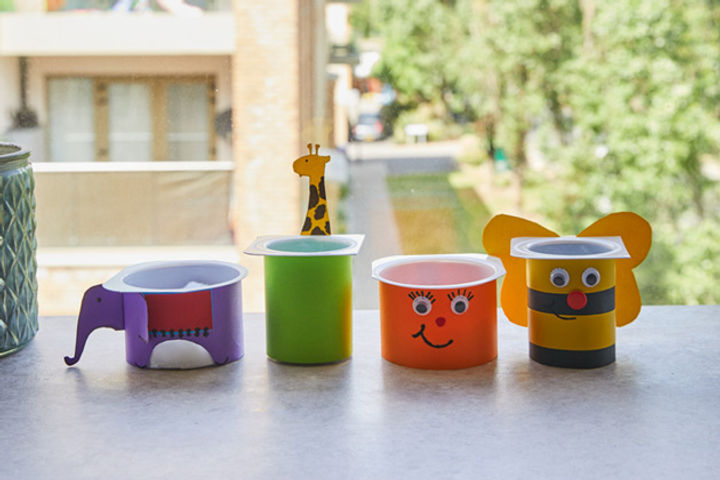
- Let’s get decorating! Paint or draw a funny face on the pot using felt-tip pens or paint.

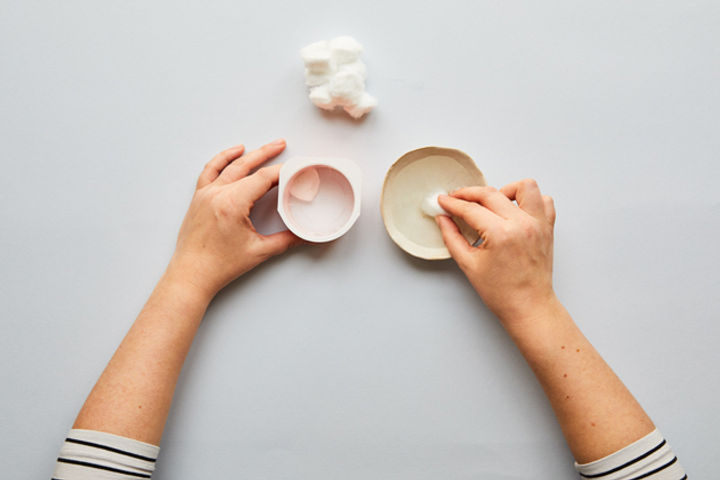
- Wet a handful of cotton wool balls and squeeze out any excess water, then use them to fill the pot to three-quarters full.
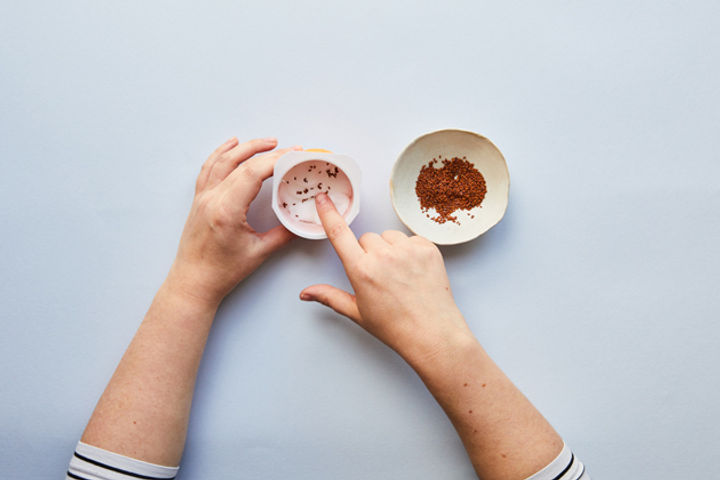
- Evenly sprinkle the cress seeds on top of the cotton wool, pressing them down gently.
- Put the filled pot in a dry and sunny spot (like a kitchen windowsill) for seven days and watch your cress grow! Spritz with water if the cotton wool looks like it’s drying out.
- To harvest, simply snip your home-grown cress into an egg mayonnaise sandwich, toss into a leafy salad, or scatter over a soup – delicious!
